One of the advantages of buying our layouts or templates is that you have a way in which you can import the entire site in a simple way with a few clicks, and your site will like the demo, and in this document we will explain how to do it.
Before starting #
It is important to have some considerations before commenting:
- 1.- To import a site, you must have a WordPress ready and clean, with nothing.
- 2.- You will not be able to import the complete site into a website that you have already started or worked on, for this you must rather import the independent layouts, for which you can follow these steps.
- 3.- When importing the complete site, it will replace all the data of the site that you have loaded in the site where you chose to import the site.
- 4.- You must make a backup copy of your site before importing our design, in case something goes wrong, and you need to recover the site you had previously.
Take all of this information into account before deciding to import your entire site. Once you are ready or prepared, now we are going to start with the import.
Have a clean WordPress #
The first step is that you must have a clean and ready WordPress site. For this, you can create it directly from your hosting server. Currently, almost all hosting servers allow you to install a WordPress directly from your Cpanel or Plesk.
You must consider that this WordPress site must have a correctly configured domain. This domain is the only thing that will not change on the site, and all the site links that you will import will be attached to the new link that you already have configured in your WordPress.
Once you have the site on WordPress, let’s start the import process.
Install and activate All-in-One WP Migration #
To import the site, we will use the free All-in-One WP Migration plugin, which allows us to import the site in a single file easily and quickly.
To get started, you need to install the All-in-One WP Migration plugin. For this, you are going to go to plugins> add new> search plugin.
In the search box you will place “All-in-One WP Migration” and you will install and activate the plugin.
Once you have it installed and activated, we will begin the import process.
Import site #
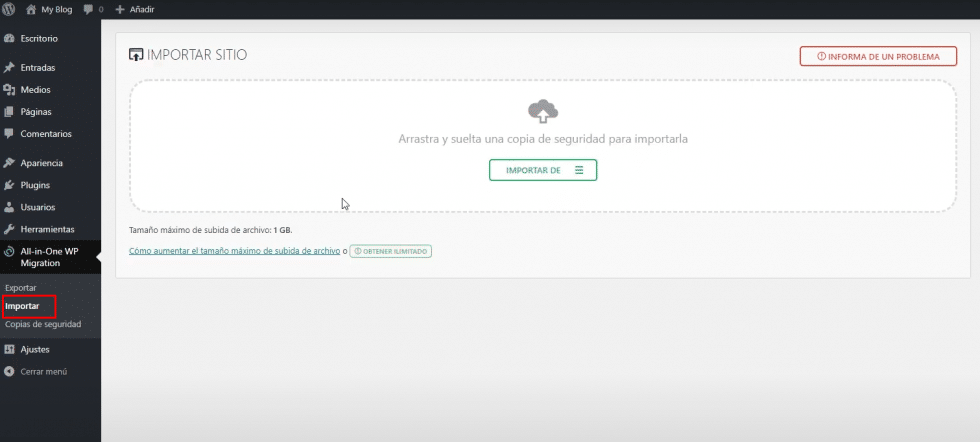
We begin with the process of importing the site. For this, we are going to go to the All-in-one WP Migration plugin options, but now to the import options:
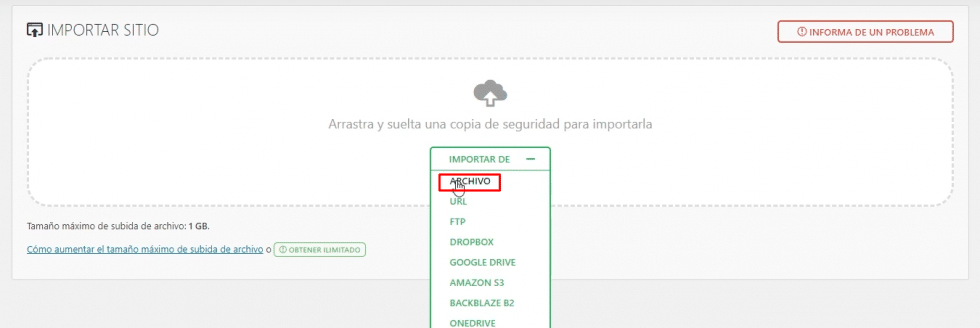
Once you have chosen the import option, you must choose that you want to import the site from a file on your computer:
Here you must select the unzipped file of the complete site with the “.wpress” extension that you will find in the files you downloaded, for example:

Selecting and uploading it will begin the import process.
The All-in-one WP Migration plugin allows you to import a site up to 512 MB for free. But don’t worry, all of our sites are less than 256 MB in size, so you won’t have any problems with the import.
⚠️ Important: If your import fails at this point, or you need more space to import the file, please check our section on how to solve import problems at the bottom of this post 👇
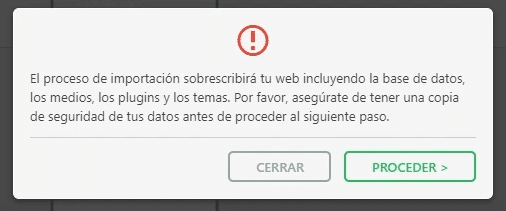
The import has an additional step that warns you that your website will be overwritten by the new backup, including the database, media, plugins and themes. Press ‘Continue’ to proceed with the import process.
The amount of time the import process will take will depend on your internet speed.
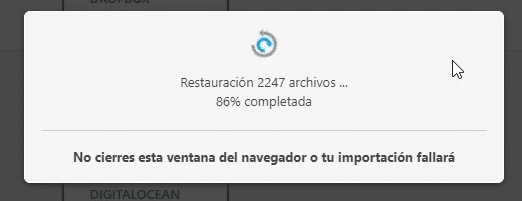
And ready!
Final steps #
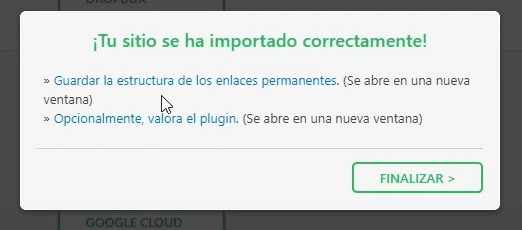
When the import is finished, you will get a success message inviting you to do two things:
- Update permanent links from WordPress options
- Give a review to the plugin
We recommend updating the permalinks so that your entire site works properly.
Finally, remember that the data with which the website has been imported is the original data from our demo. So, you will have to access the data that you will see in the .txt file that you will find in the Template download.
Important to do after import #
After accessing the newly imported site, you must create a new user of type “administrator” with the data that you want.
With your custom ‘admin’ user type you MUST delete the original users the site was imported with.
You must disable any caching plugins the importing site has, and all Divi static CSS options that might be active.

This action is necessary so that the changes you make to the site are reflected immediately.

How to remove the ‘buy template’ buttons #
Finally, you have to go to the theme generator, enter the footer, and delete the row that says: “Buy buttons (delete before import the site)”

In this step, you will delete the sale buttons that we have in each Demo template.

With that, the site will be fully active, ready, and ready for you to change the information you want.
Possible problems when importing: #
When we do this type of operation, there may be problems or errors are generated at the time of importing, here we will document some of those problems and their possible solutions.
Before starting, you must know that the file you import must be a .wpress file created by the plugin used for the import. Use a fresh WordPress installation and make sure it’s clean to start the import.
1.- If the import page of the plugin does not seem to be correct, there might be an issue with your site and the start URL.
2.- Although the All-in-One WP migration plugin is fully compatible with previous and new PHP versions, it is possible that the content of your website (themes, plugins, etc.) is not. Check if the PHP versions of your import and export sites are incompatible. See more information here.
3.- If you want to verify the integrity before importing, use the Traktor tool to verify the integrity of your backup and observe the content.
4.- You must have enough space on your server to store the backup file and recreate the website of your site.
5.- You should have enough space to store at least 2.5 times your site.
6.- You need to have permissions on wp-content that allow you to write in the wp-content folder. We recommend that you have 775 as standard in the wp-content file, you can verify this with your hosting provider.
7.- To process the import, you must have enough memory on your server. The memory limit should be set to 256M minimum. This is one of the most common problems, and you can see how to solve it with this guide. In each template that you buy on our site you have the plugin “WP Migration File Upload Unlimited Extension” included. Install this plugin before doing your installation process to increase the memory limit on your site and avoid the installation error.
8.- If the restoration process stops or takes too long, follow this guide.
9.- If your website does not work after importing, you can consult this guide.